Mortician’s note:
This is the first piece from Austin funeral director Sarah Wambold, who I first met via this interview with Thought Catalog, where she proved to be a kindred spirit in the “young females keepin’ it real about the death industry” arena. I hope to feature much more of Sarah’s original writing in the future.
*~*~*~*~*~*~*~*~*~*
When they can’t bear to look at the face of the deceased, they look at the hands. They hold them, fondle the wedding bands, maybe even kiss them. You don’t manicure dead hands, you cosmetize them, which can be thought of as a difference between movement and stillness. Cosmetized hands don’t look dead, just motionless and on display. Manicured hands get the cosmetizing job done.
Before injection, observe the bottle of tissue filler. It will be sitting on a shelf, half coagulated into a mold of mortuary Jell-O. Attempt to suck whatever liquid is left into a syringe before gently stroking the dead hand, examining it for a good place to inject. The tips are normally the most desirable spot, as they are uncharacteristically lifeless, deflated even. Once you prick the fingertip with the needle and push the tissue filler in, it should puff up like a marshmallow. A little round cushion upon which the nail rests. Do the same with all ten fingers and feel satisfied.
Attempt to do the same with the pocket of skin between the thumb and first finger. The manager will tell you not to overdo it because too much tissue filler will make it look like a balloon has emerged. Those will be his exact words. If you push the filler back towards the injection site, it will ooze down the wrist and then you can shape and mold the remaining filler into a natural looking skin fold.
Once the hand looks alive, notice that it somehow looks better than your own. Notice this for only a moment before moving on to the nails. They will be weathered and torn at first, with the nail beds possibly a purplish color from inadequate fluid distribution during the embalming process. Notice yours are approaching this color also and think about turning up the heat. Begin to file the nails into an even length, making sure to file in one direction, something you remember you forget to do on your own nails. Notice that two nails on the right hand are lacerated, almost completely torn off. Look for the kit of acrylic nails you saw in the cupboard last week and find two nailshapes that will fit the tips of the fingers. Cauterize the lacerated tips by packing them in chemical-soaked cotton overnight.
Realize these things take time.
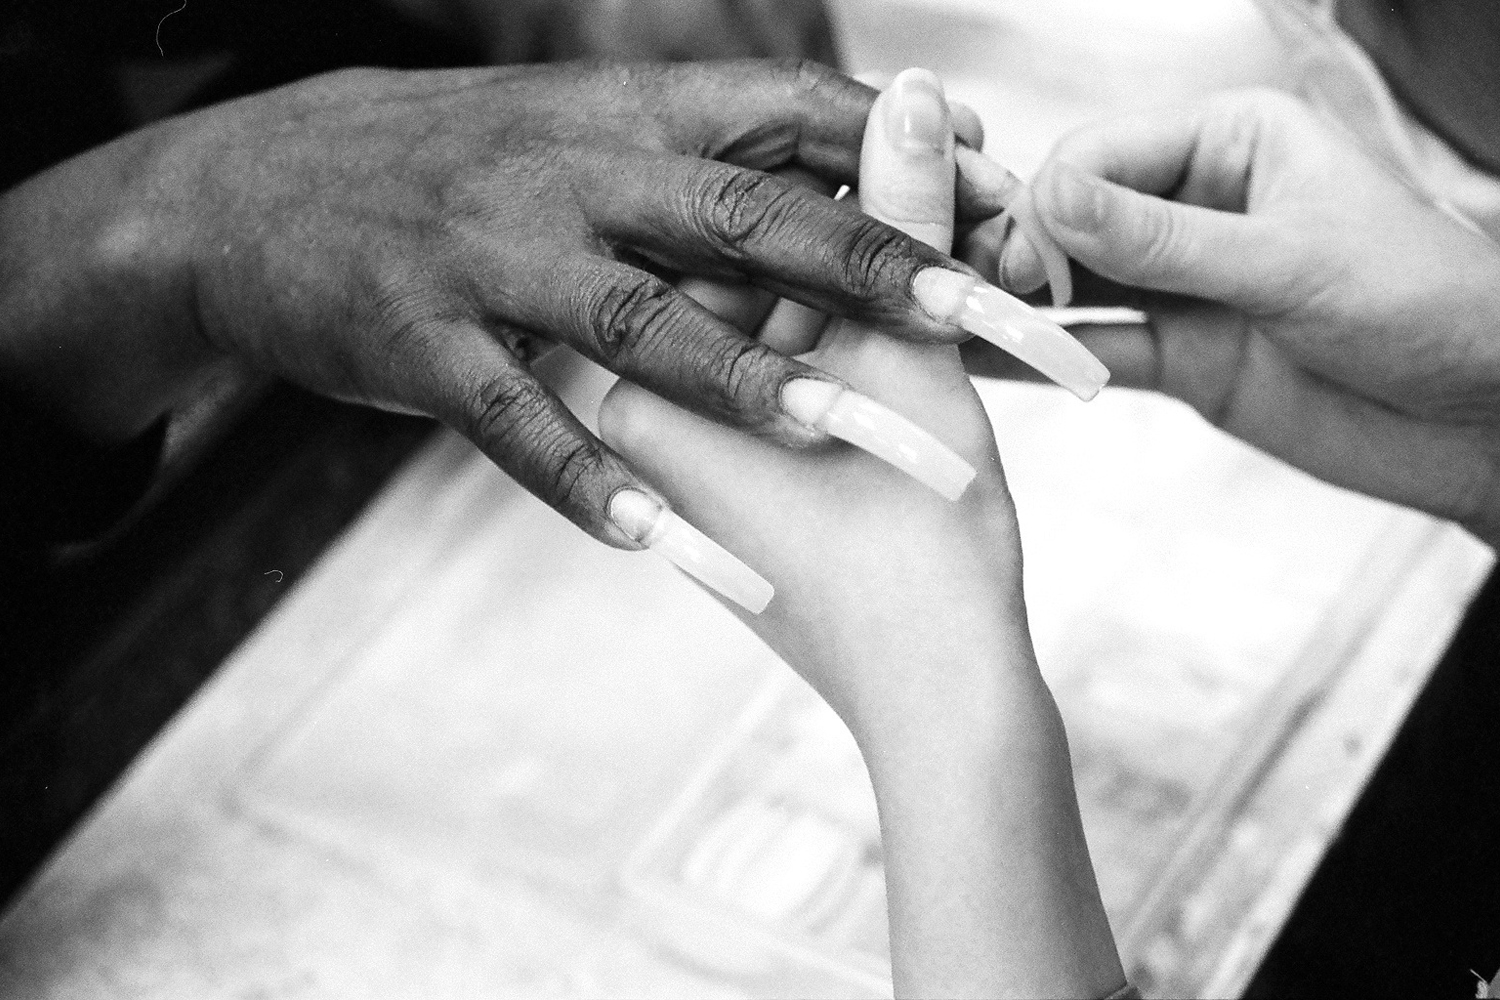
The next day, remove the cauterizing materials, cleanse the nail bed and apply a clear sealing liquid over the bed. Apply a thin strip of cotton to the nailbed to serve as a base and then cover it with another coat of sealing liquid. Firmly attach the fake nail with adhesive from the box. Think about how long it might take to apply acrylic nails to your own hands. Make a note to try it sometime.
The rest of the nails are long enough that the square shape that you file them into makes them appear fake as well. Stare at them for a moment, admiring your work. Trim excess fibers and cuticles from the edges and do one final cleanse of the nails with acetone then water, making sure they are primed for polish.
Jungle Red. Think about how this looks on your own nails, how it emphasizes their misshapes and mocks their stubbiness. Apply each layer in perfect, even strokes and notice the intensity of the color. The bed of the nail meets the finger in such a dramatic way that even you think there is still life in these hands. But cosmetizing the hands extend beyond the nails and onto the skin.
Degrease and cleanse the top of the hands. Find a bottle of tint that will sufficiently warm the skin to a color that does in fact bring the hand back to life and stipple it with a soft brush on the knuckles of the fingers. Let it soak in and dry before you lightly dust finishing powder over both hands. Examine them for evenness and naturalness.
Prepare to glue.
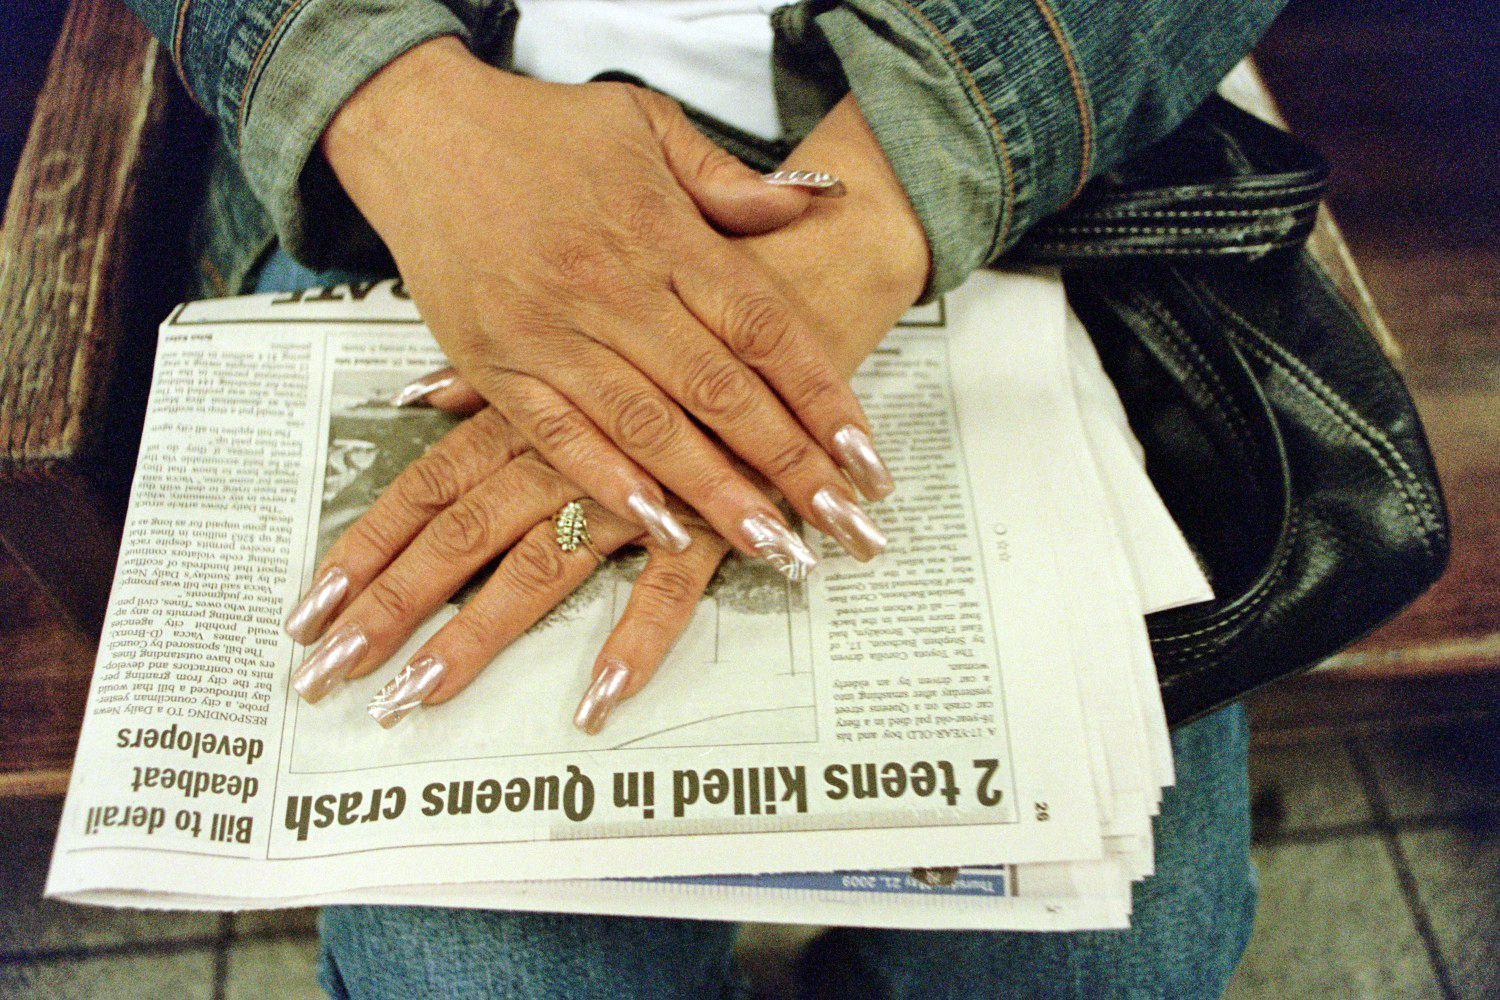
Set the hands in a resting pose. Allow them to fall in a natural way that is not stiff or rigid but bent and creased with one hand crossed over the other above the waistline chastely. Apply superglue to the top of the bottom hand and pressed the two together. Press them together for one minute and close your eyes because now you are finished.
During the funeral, stand at the back of the room with your hands clasped behind your back. Smile graciously when someone tells you what a fine job you did. Finger your own nails discreetly during the service and notice their flaws. Book an appointment at the most expensive salon in town to understand what it feels like to have perfect hands. Ruin that manicure three hours into your next shift.
Photos by Molly Surno Gasser Grunert Gallery